10PRINT and 100 Doors on the PicoCalc from Clockwork Pi
By Michael Doornbos
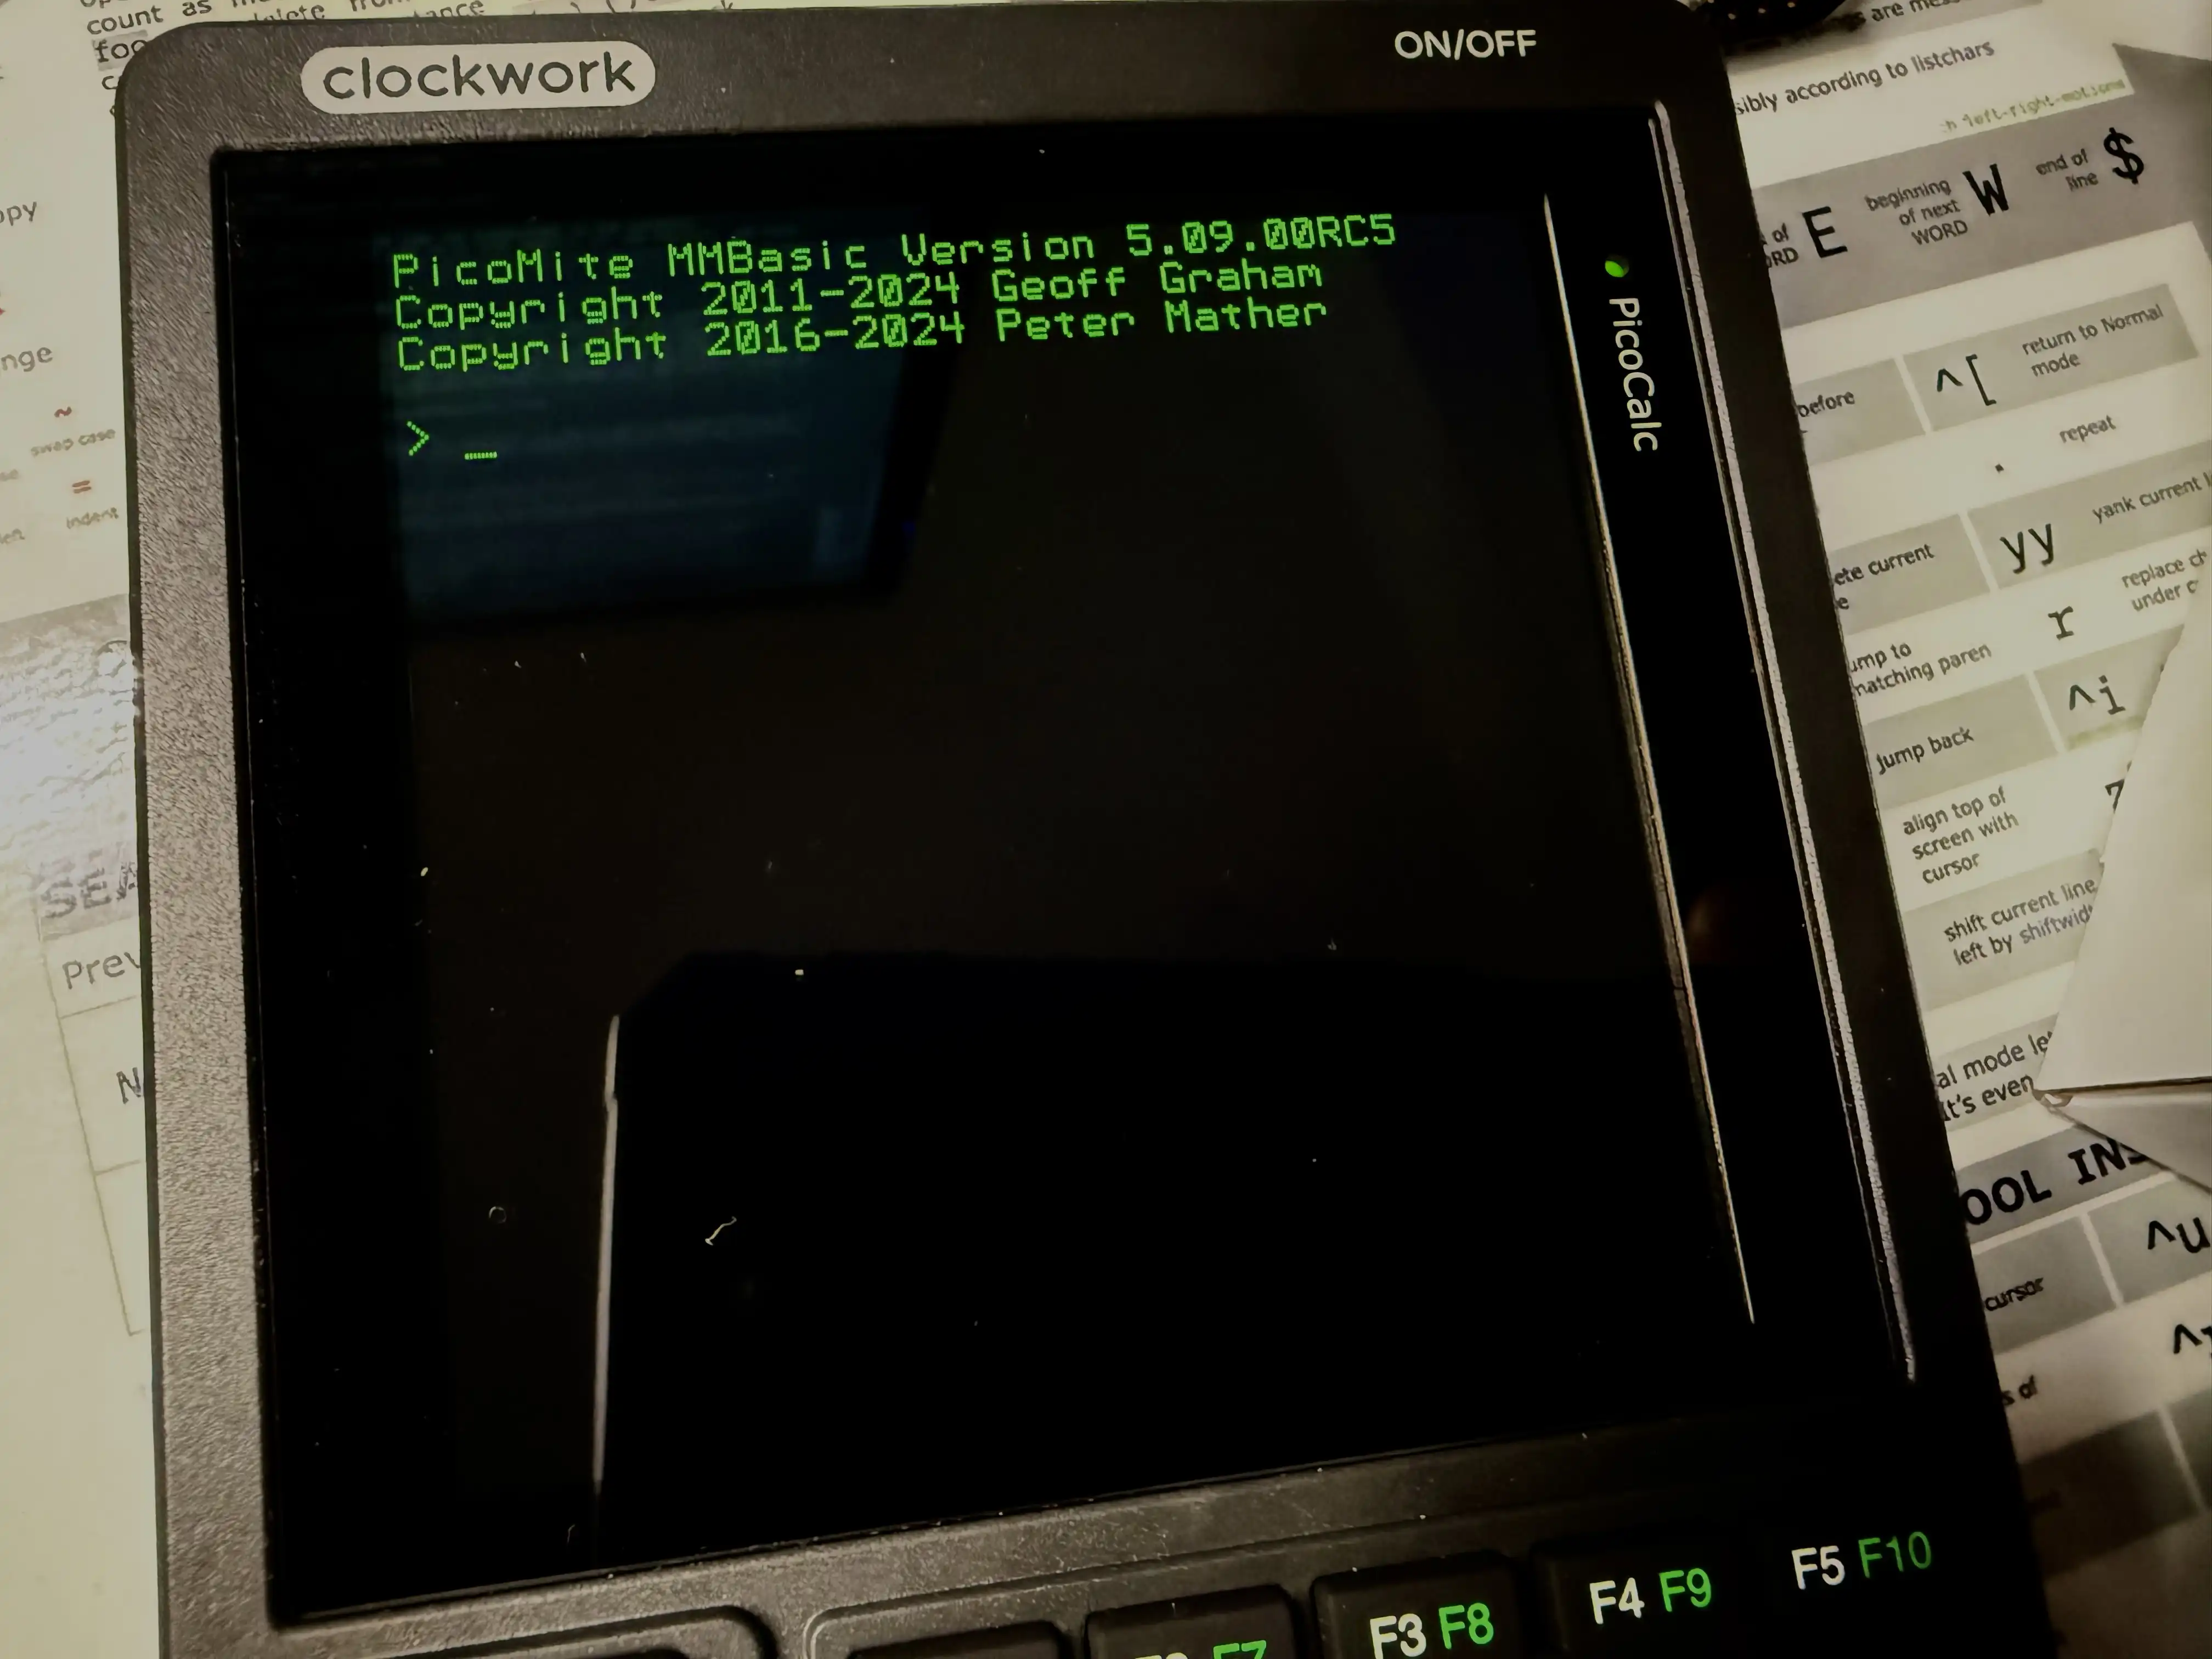
- 3 minutes read - 620 wordsThere’s a new fun device in my lab today. The Clockwork Pi PicoCalc, a retro-inspired handheld that blends nostalgia with modern DIY flair. Powered by a Raspberry Pi Pico, it’s perfect for tinkering.
Out of the box is boots directly to a version of BASIC called PicoMite. It’s a version of MMBasic that’s been optimized for the PicoCalc. It’s a great way to get started with programming on the PicoCalc. Other languages like Python/C/C++ are also supported, but I will primarily be using BASIC on it.
You’re shocked, I know.
10PRINT
I’m on a quest to run 10PRINT on every platform I can. I call it “10PRINT ON ALL THE THINGS”. Back off man, I’m a scientist.
Naturally, the first program I wanted to run on the PicoCalc was the classic 10PRINT program. This one-liner generates a maze-like pattern by randomly choosing between two characters: / and \. Here’s the BASIC code to run on the PicoCalc.
Do:Print Chr$(47+45*(Rnd>0.5));:Loop
This is a straightforward variation of 10PRINT that uses characters 47 and 92 to draw the maze. The Do:Print:Loop structure is a simple way to create an infinite loop that continuously prints characters to the screen. The Chr$ function converts the ASCII code to a character, and the Rnd function generates a random number between 0 and 1. If the random number is greater than 0.5, it prints character 92 (\); otherwise, it prints character 47 (/). This creates the alternating pattern that forms the “maze”.
100 Doors
This is not the first time we’ve used MMBasic for 100 Doors. The Color Maximite feels a little like the Grandfather of the PicoCalc.
' 100 Doors Problem with Boxes Visual
DIM doors(100)

' Initialize all doors as closed
FOR i = 1 TO 100
  doors(i) = 0
NEXT i

' Clear screen and setup
CLS
PRINT "100 Doors Problem"
pause 1000
CLS
' Main processing loop
FOR pass = 1 TO 100
  PRINT @(0, 1) "Pass: "; pass; "   "

  FOR door = pass TO 100 STEP pass
    ' Toggle door state
    doors(door) = NOT doors(door)

    ' Draw all 100 boxes after each change
    FOR d = 1 TO 100
      ' Calculate position (10x10 grid)
      row = (d-1)\10
      col = (d-1) MOD 10
      x = col*12 + 5
      y = row*12 + 15

      ' Draw box with color based on door state
      IF doors(d) THEN
        ' Open door - blue
        BOX x, y, 10, 10, 1, RGB(0, 0, 100), rgb(0, 0, 255)
      ELSE
        ' Closed door - red
        BOX x, y, 10, 10, 1, RGB(100, 0, 0), rgb(255, 0, 0)
      END IF
    NEXT d

    ' Show current door being processed
    PRINT @(10, 160) "Door: "; door; "   "
    PAUSE 5
  NEXT door
NEXT pass

' Display final results
PRINT @(10, 160) "Completed      "
PRINT @(10, 180) "Open doors: "
count = 0
FOR i = 1 TO 100
  IF doors(i) THEN
    PRINT i; " ";
    count = count + 1
    IF count MOD 8 = 0 THEN PRINT
  END IF
NEXT i
I never liked my implemention on the Maximite. Using the boxes to represent the doors is a much better visual.
The program initializes an array of 100 doors, all closed. It then goes through 100 passes, toggling the state of each door that is a multiple of the pass number. After each pass, it draws the state of all 100 doors as boxes on the screen. Closed doors are red, and open doors are blue. The program also displays the current door being processed and the final results, showing which doors are open at the end.
Extra credit
What would you make with the PicoCalc? Here’s some of the other things I’ve done with the PicoCalc this week:
Have Fun!
- Code
- Getting Started
- How-To
- Retro
- Programming
- Tutorial
- Basics
- Python
- PicoCalc
- Clockwork Pi
- BASIC
- 10PRINT
- 100 Doors