A grid drawing rabbit hole
By Michael Doornbos
- 6 minutes read - 1075 wordsI’m working on the next in the Cipher series and want to start drawing graphs on a Commodore to show letter freqency analysis. I needed a way to lay out screens by hand to determine how I was going to fit a lot of data on a limited screen. Many books in the 70s and 80s containted templates for this, but I figured we could just make our own.
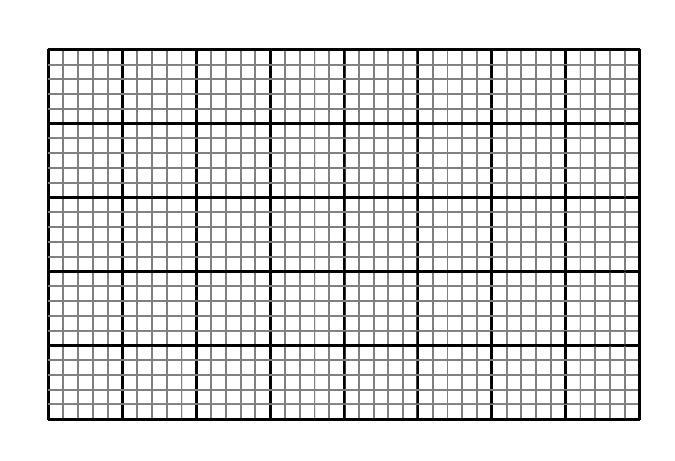
My mockup in Python looks something like this.

I posted this on Twitter/X and naturally got called out on it for not doing it on an 8 Bit Machine. I turned to the Commodore 64 and after quite a bit of work, a grid in BASIC in drawn.
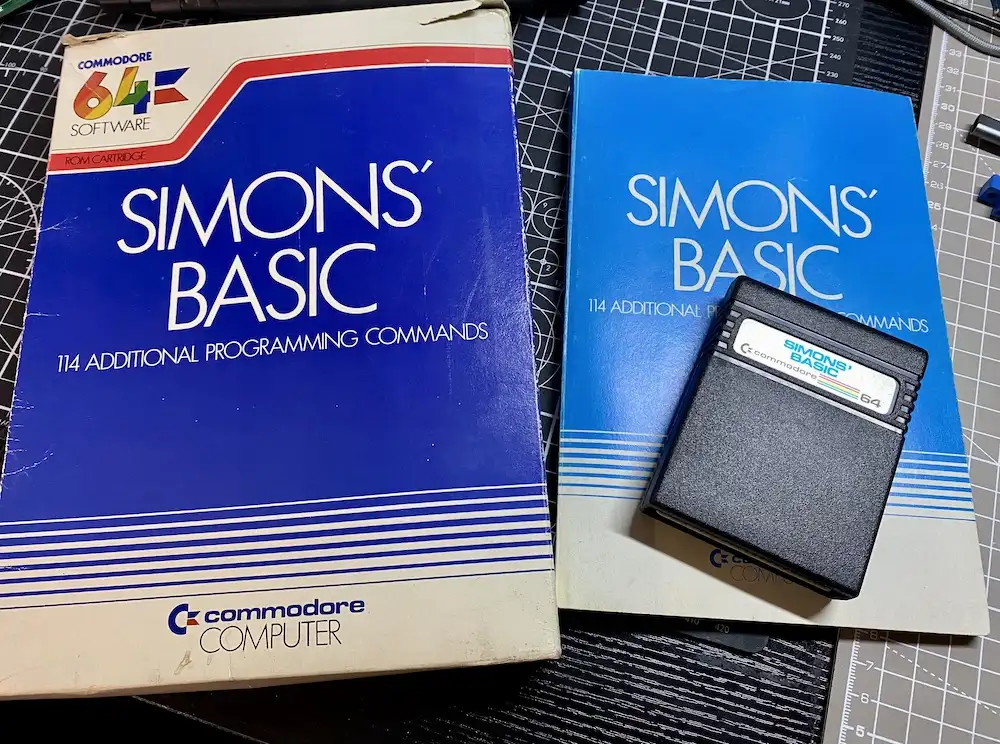
Simon’s and Super Expander
Drawing on the VIC-20 and Commodore 64 in BASIC is surprisingly difficult and painfully slow. The above example takes 40 minutes to render! Sure, there are probably quite a few speedups I could do, but it’s still going to be very slow to render graphics in high resolution on the Commodore.
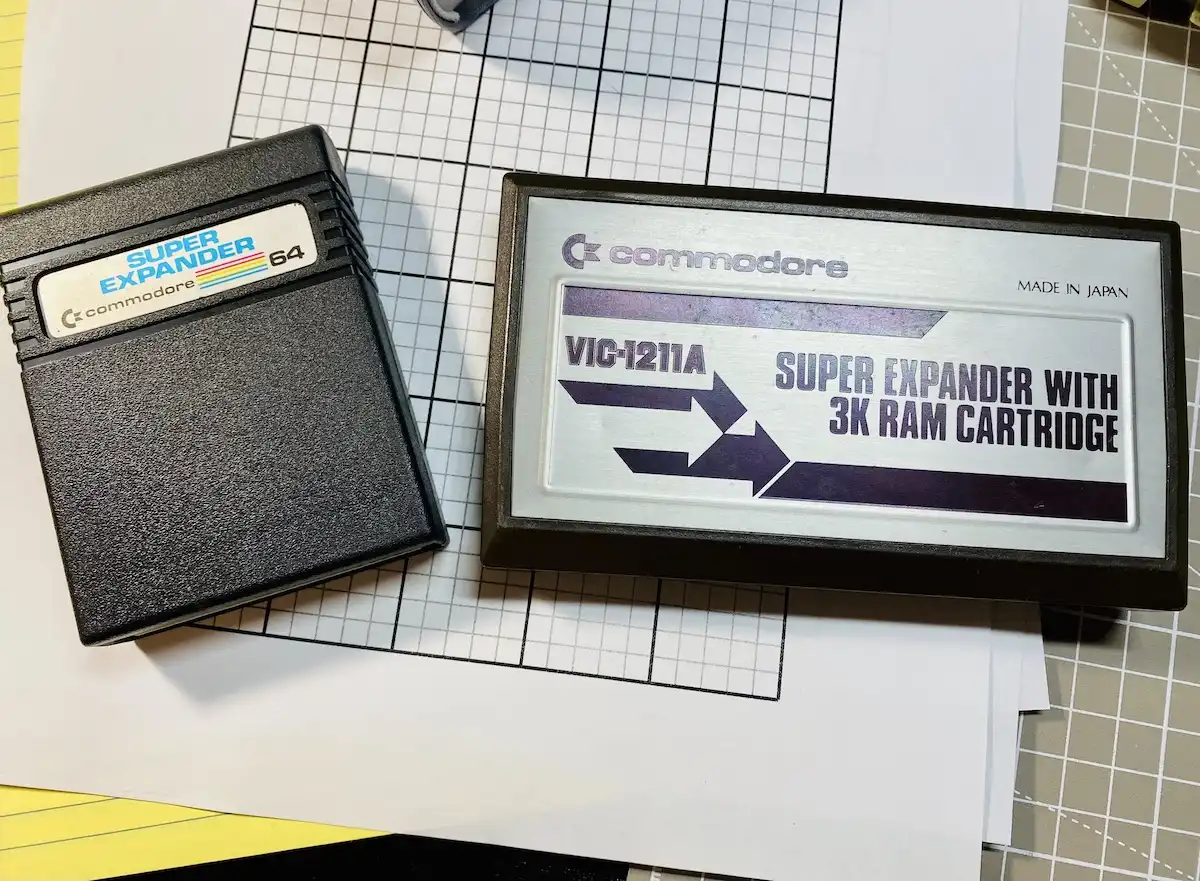
Luckily in the 80s there were quite a few extensions to BASIC 2.0. The two I happened to have were SIMONS’ BASIC and Super Expander which was produced by Commodore and was also often considered a required cartridge for anyone who had a VIC-20.

The syntax is not identical on the VIC-20 and the C64 versions, but they are close. Let’s use Super Expander since SIMON’s isn’t available on the VIC-20 and we might need a grid on a VIC-20 at some point.

C64 Super Expander
This cartridge has excellent commands for drawing that are easy to understand. Let’s jump right into the code, as I think this is straightforward enough to explain as we go. Keep in mind the high-resolution screen on the C64 is 320x200.
10 REM 40X25 GRID USING SUPER EXPANDER
20 GRAPHIC 2
30 COLOR 6,1:SCNCLR
40 BOX 1,0,0,319,199
50 FOR Y=0TO199 STEP 8
60 DRAW 1,0,Y TO 320,Y
70 NEXT
80 FOR X=0TO319 STEP 8
90 DRAW 1,X,0 TO X,200
100 NEXT
110 FOR Y=0TO199 STEP 8*5
120 DRAW 1,0,Y+1 TO 320,Y+1
130 NEXT
140 FOR X=0TO319 STEP 8*5
150 DRAW 1,X+1,0 TO X+1,200
160 NEXT
Let’s go through this line by line:
- Line 20: Sets the graphic mode to high resolution bitmap.
- Line 30: Sets the foreground and background color, and clears the screen with the current background color.
- Line 40: Draws a filled rectangle covering the entire screen.
- Line 50: Starts a loop where the variable Y goes from 0 to 199, with a step of 8.
- Line 60: Draws horizontal lines across the screen with color 1.
- Line 70: Signals the program to repeat the loop from line 50.
- Line 80: Starts another loop where the variable X goes from 0 to 319, with a step of 8.
- Line 90: Draws vertical lines from the top to the bottom of the screen with color 1.
I had added guidelines every 5 boxes on the Python version so we’ll do that here too. Basically just offsetting the lines by one pixel making every 5 two pixels wide.
- Line 110: Starts another loop where Y goes from 0 to 199, with a step of 8*5 (yes, you can just make this 40 if you want)
- Line 120: Draws horizontal lines slightly shifted down by one unit compared to the original grid (+1)
- Line 130: Signals the program to repeat the loop from line 110.
- Line 140: Starts another loop with X going from 0 to 319, with a step of 8*5.
- Line 150: Draws vertical lines slightly shifted to the right by one unit compared to the original grid (+1).
- Line 160: Signals the program to repeat the loop from line 140.
After running this program, you should have a 40x25 grid pattern on the screen. The first set of loops draw the primary grid, and the second set of loops draw a slightly offset secondary grid. The result should look something like this:
VIC-20 Super Expander
The older brother (sister?) to the Commodore 64 Super Expander is an almost must-have for this machine with limited resources. A 3K RAM expansion with many new BASIC commands was a very useful for this computer.
10 REM 22X23 GRID USING SUPER EXPANDER
20 GRAPHIC 2
30 SCNCLR
40 DRAW 6,0,0 TO 0,1023
50 DRAW 6,0,1023 TO 1023,1023
60 DRAW 6,1023,1023 TO 1023,0
70 DRAW 6,1023,0 TO 0,0
80 FOR Y=0TO1023 STEP 44.52
90 DRAW 1,0,Y TO 1023,Y
100 NEXT
110 FOR X=0TO1023 STEP 46.5
120 DRAW 1,X,0 TO X,1023
130 NEXT
Here’s the line-by-line explanation for the VIC-20 Super Expander code:
- Line 20: Sets the graphics mode to high-resolution bitmap.
- Line 30: Clears the screen.
- Line 40: Draws a line from the top left corner to the bottom left.
- Line 50: Draws a line from the bottom left corner to the bottom right.
- Line 60: Draws a line from the bottom right corner to the top right.
- Line 70: Draws a line from the top right corner to the top left, creating a frame around the screen.
- Line 80: Starts a loop where the variable Y goes from 0 to 1023, with a step of 44.52.
- Line 90: Draws horizontal lines across the screen using color 1.
- Line 100: Signals the program to repeat the loop from line 80.
- Line 110: Starts another loop where the variable X goes from 0 to 1023, with a step of 46.5.
- Line 120: Draws vertical lines from the top to the bottom of the screen with color
There is no box command in the older version of Super Expander, and the high resoltion layout is strangly made with a 1024x1024 grid. This is why the steps are so strange. The VIC-20 has a 22x23 grid in high resolution mode, so we need to make sure the lines are spaced out correctly. A little math shows that the horizontal lines need to be spaced out by 44.52, and the vertical lines need to be spaced out by 46.5. Weird I know, but it works.
Printing it
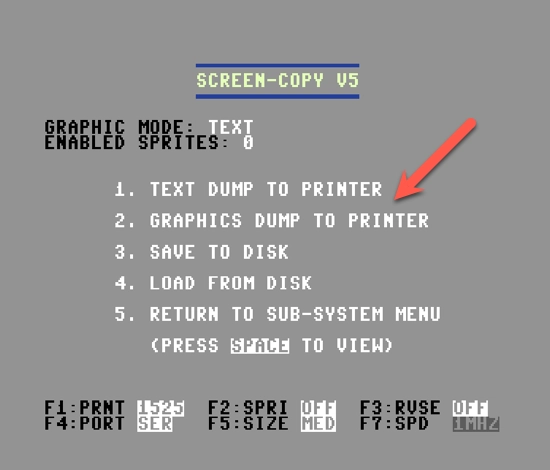
There isn’t a great way to print high-resolution screens from a Commodore. But if we use the Super Snapshot Cartridge, there’s a screen copy and print function there.

Unfortunately, I don’t know of a good way to do this on the VIC-20. If you do, please let me know!
Extra Credit
Just for fun see if you can make something cool with one of these. Here’s mine: