Building a software serial bridge
By Michael Doornbos
- 5 minutes read - 874 wordsModern and retro mix
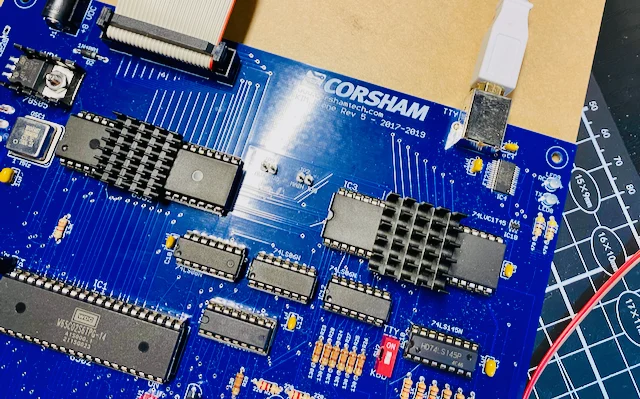
One of my favorite peices of retro clone hardware is Bob Corsham’s KIM-1 Clone. I’ve featured it many places like the 6502 speed series.
I have the latest model of this board, and he made an interesting design choice. It actually has an FTDI chip on board and you use that via USB to connect via a modern computer with an FTDI driver. This is very convenient for working with a modern computer, but then eliminates the ability to use a real serial port.

So if we want to connect our KIM-1 to a Commodore VIC-20, we’re going to do a little bit of work.
Any modernish computer with two serial ports will work for this. I’m going to use a Raspberry Pi Zero with a USB to serial adapter and the built in serial port on the GPIO header. I’ve also used this on my MacBook with two USB to serial adapters. Same-same.
Python Bridge
We’ll use Python here, but as always, use whatever tool you like.
Step 1: Setting up the Raspberry Pi Zero
First, we’ll need to get our Raspberry Pi Zero up and running. Flash the latest Raspberry Pi OS onto an SD card, then connect your Pi Zero to a display, keyboard, and mouse. Open the terminal and install the pyserial library:
pip install pyserial
Step 2: Identifying Serial Port Names
Next, we need to find the serial port names on our Raspberry Pi Zero. The built-in UART typically appears as /dev/ttyAMA0 or /dev/serial0. For the KIM-1 clone with its FTDI adapter, we’ll use a USB-to-Serial adapter, which should show up as /dev/ttyUSB0.
On the Pi zero, the GPIO header connections are:
                +-----+
      3.3V   1 -| o o |- 2  5V
     GPIO2   3 -| o o |- 4  5V
     GPIO3   5 -| o o |- 6  GND      <-- Connect to GND on the converter
     GPIO4   7 -| o o |- 8  GPIO14   <-- Connect to RX on the converter (TX on VIC-20)
       GND   9 -| o o |- 10 GPIO15   <-- Connect to TX on the converter (RX on VIC-20)
    GPIO17  11 -| o o |- 12 GPIO18
    GPIO27  13 -| o o |- 14 GND
    GPIO22  15 -| o o |- 16 GPIO23
    3.3V    17 -| o o |- 18 GPIO24
    GPIO10  19 -| o o |- 20 GND
    GPIO9   21 -| o o |- 22 GPIO25
    GPIO11  23 -| o o |- 24 GPIO8
       GND  25 -| o o |- 26 GPIO7
                +-----+
Step 3: Configuring the Python Script
At 2400 (or even 19200) bps, my MacBook is probably plenty fast do to this without threading. But since I do want multiplexed communication, the right thing to do is to spawn a thread for recieve and another for transmit.
# pip install pyserial

import threading
import serial
import time

class SerialBridge:
    def __init__(self, port1, port2, baudrate=9600, timeout=1):
        self.port1 = serial.Serial(port1, baudrate, timeout=timeout)
        self.port2 = serial.Serial(port2, baudrate, timeout=timeout)
        self.running = False

    def bridge(self, source, destination):
        while self.running:
            data = source.read(source.in_waiting or 1)
            if data:
                destination.write(data)

    def start(self):
        self.running = True
        self.thread1 = threading.Thread(target=self.bridge, args=(self.port1, self.port2))
        self.thread2 = threading.Thread(target=self.bridge, args=(self.port2, self.port1))
        self.thread1.start()
        self.thread2.start()

    def stop(self):
        self.running = False
        self.thread1.join()
        self.thread2.join()
        self.port1.close()
        self.port2.close()

if __name__ == "__main__":
    bridge = SerialBridge('/dev/cu.usbserial-1443340', '/dev/cu.usbserial-GG1OZCMK', baudrate=2400, timeout=1)
    try:
        print("Starting serial bridge...")
        bridge.start()
        while True:
            time.sleep(1)
    except KeyboardInterrupt:
        print("Stopping serial bridge...")
        bridge.stop()
I’ve been a Python user since 1998 or so and I’m still amazed at how readable it is. I’ll bet anyone with any programming experience can sort through what this code does in just a few minutes regardless of your programming language background. Love it or hate it, Python is definitely readable.
Now, let’s modify our bidirectional serial bridge Python script to match the serial port names we found earlier. Remember to set the baud rate to 2400 bps, since we’re working with vintage hardware.
bridge = SerialBridge('/dev/ttyAMA0', '/dev/ttyUSB0', baudrate=2400, timeout=1)
Step 4: Enabling the Serial Port on the Raspberry Pi Zero
Before running our Python script, we need to enable the serial port on the Raspberry Pi Zero. Follow these simple steps:
- Run sudo raspi-config.
- Select Interfacing Options.
- Select Serial.
- Choose ‘No’ for the login shell option.
- Choose ‘Yes’ for enabling the serial port hardware.
- Finish up and reboot your Raspberry Pi Zero.
Step 5: Connecting the Commodore VIC-20 and KIM-1 Clone
Time to connect our two retro devices! First, connect the Commodore VIC-20’s RS-232 interface to an RS-232 to 3.3V TTL converter. This converter will protect the Raspberry Pi Zero’s GPIO pins from potential voltage problems. Next, hook up the TTL side of the converter to the Raspberry Pi Zero’s GPIO pins using jumper wires. Connect the KIM-1 clone’s FTDI adapter to one of the Raspberry Pi Zero’s USB ports using a USB-to-Serial adapter. And, of course, don’t forget to link the Tx and Rx pins and the ground between the two devices.
Step 6: Running the Python Script
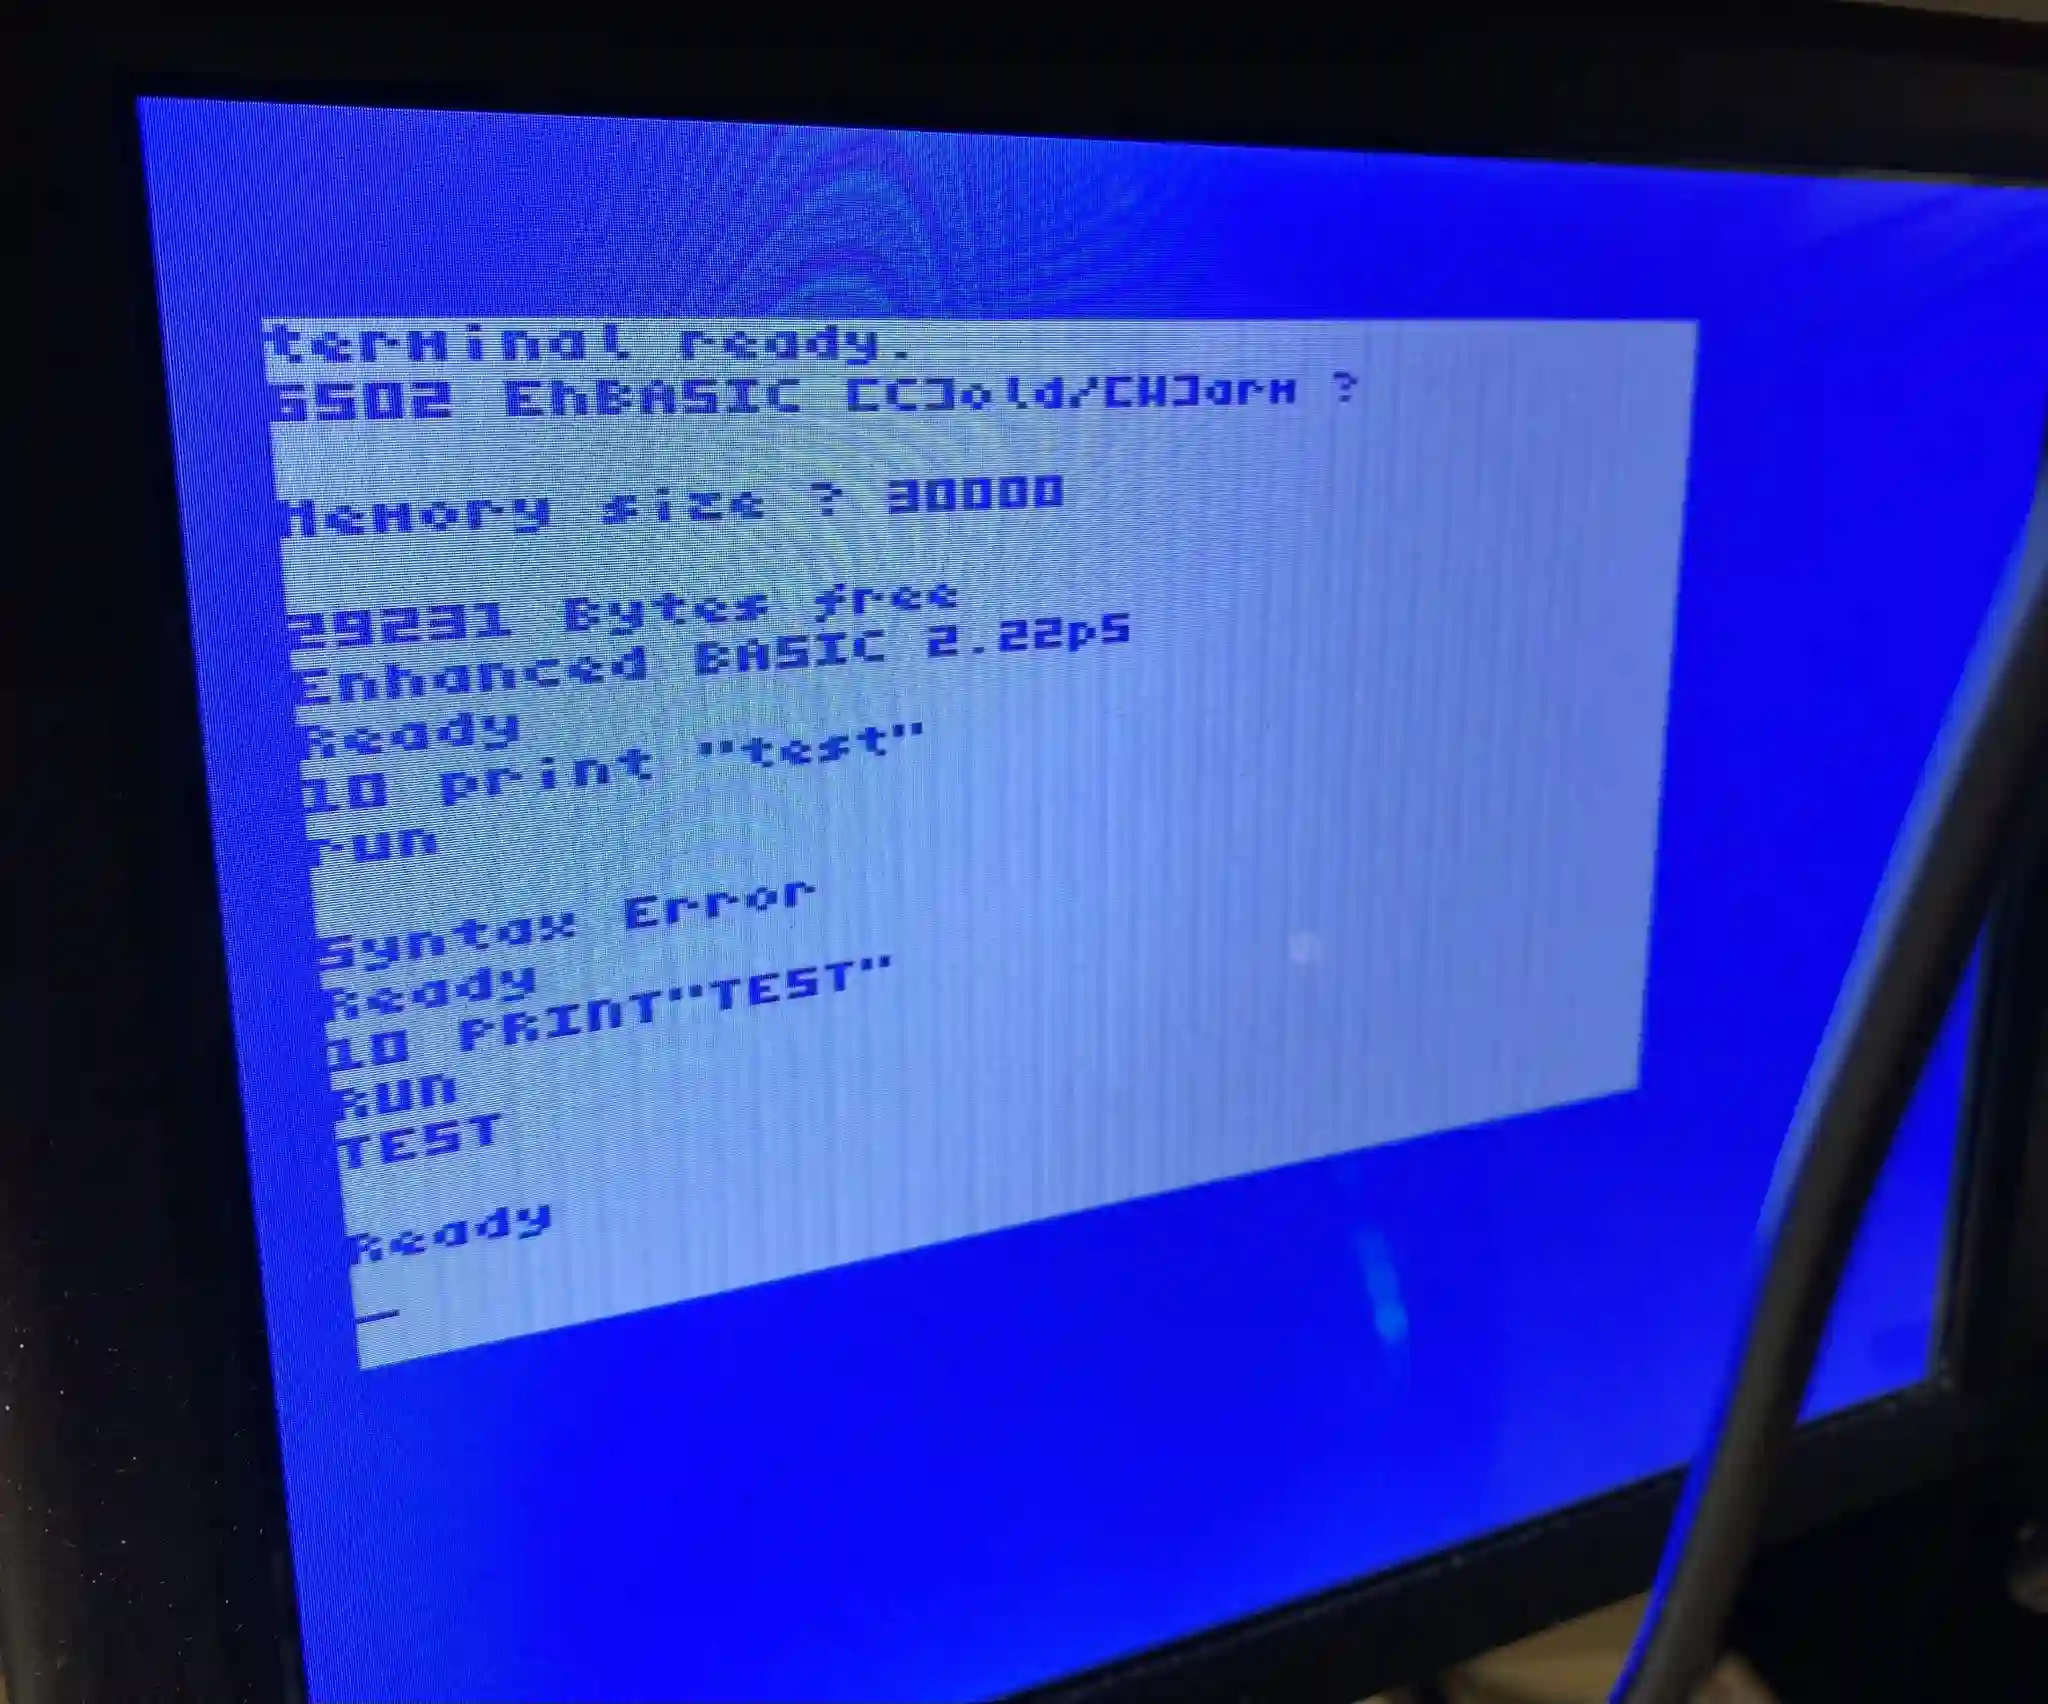
We’re all set! Run the Python script on the Raspberry Pi Zero, and watch as the communication bridge is built between the Commodore VIC-20 and the KIM-1 clone, enabling smooth interaction between these iconic machines.

Conclusion:
There you have it! We’ve successfully connected a Commodore VIC-20 and a KIM-1 clone using a Raspberry Pi Zero as our bridge.