Vicky-20 S Video Mod Results
By Michael Doornbos
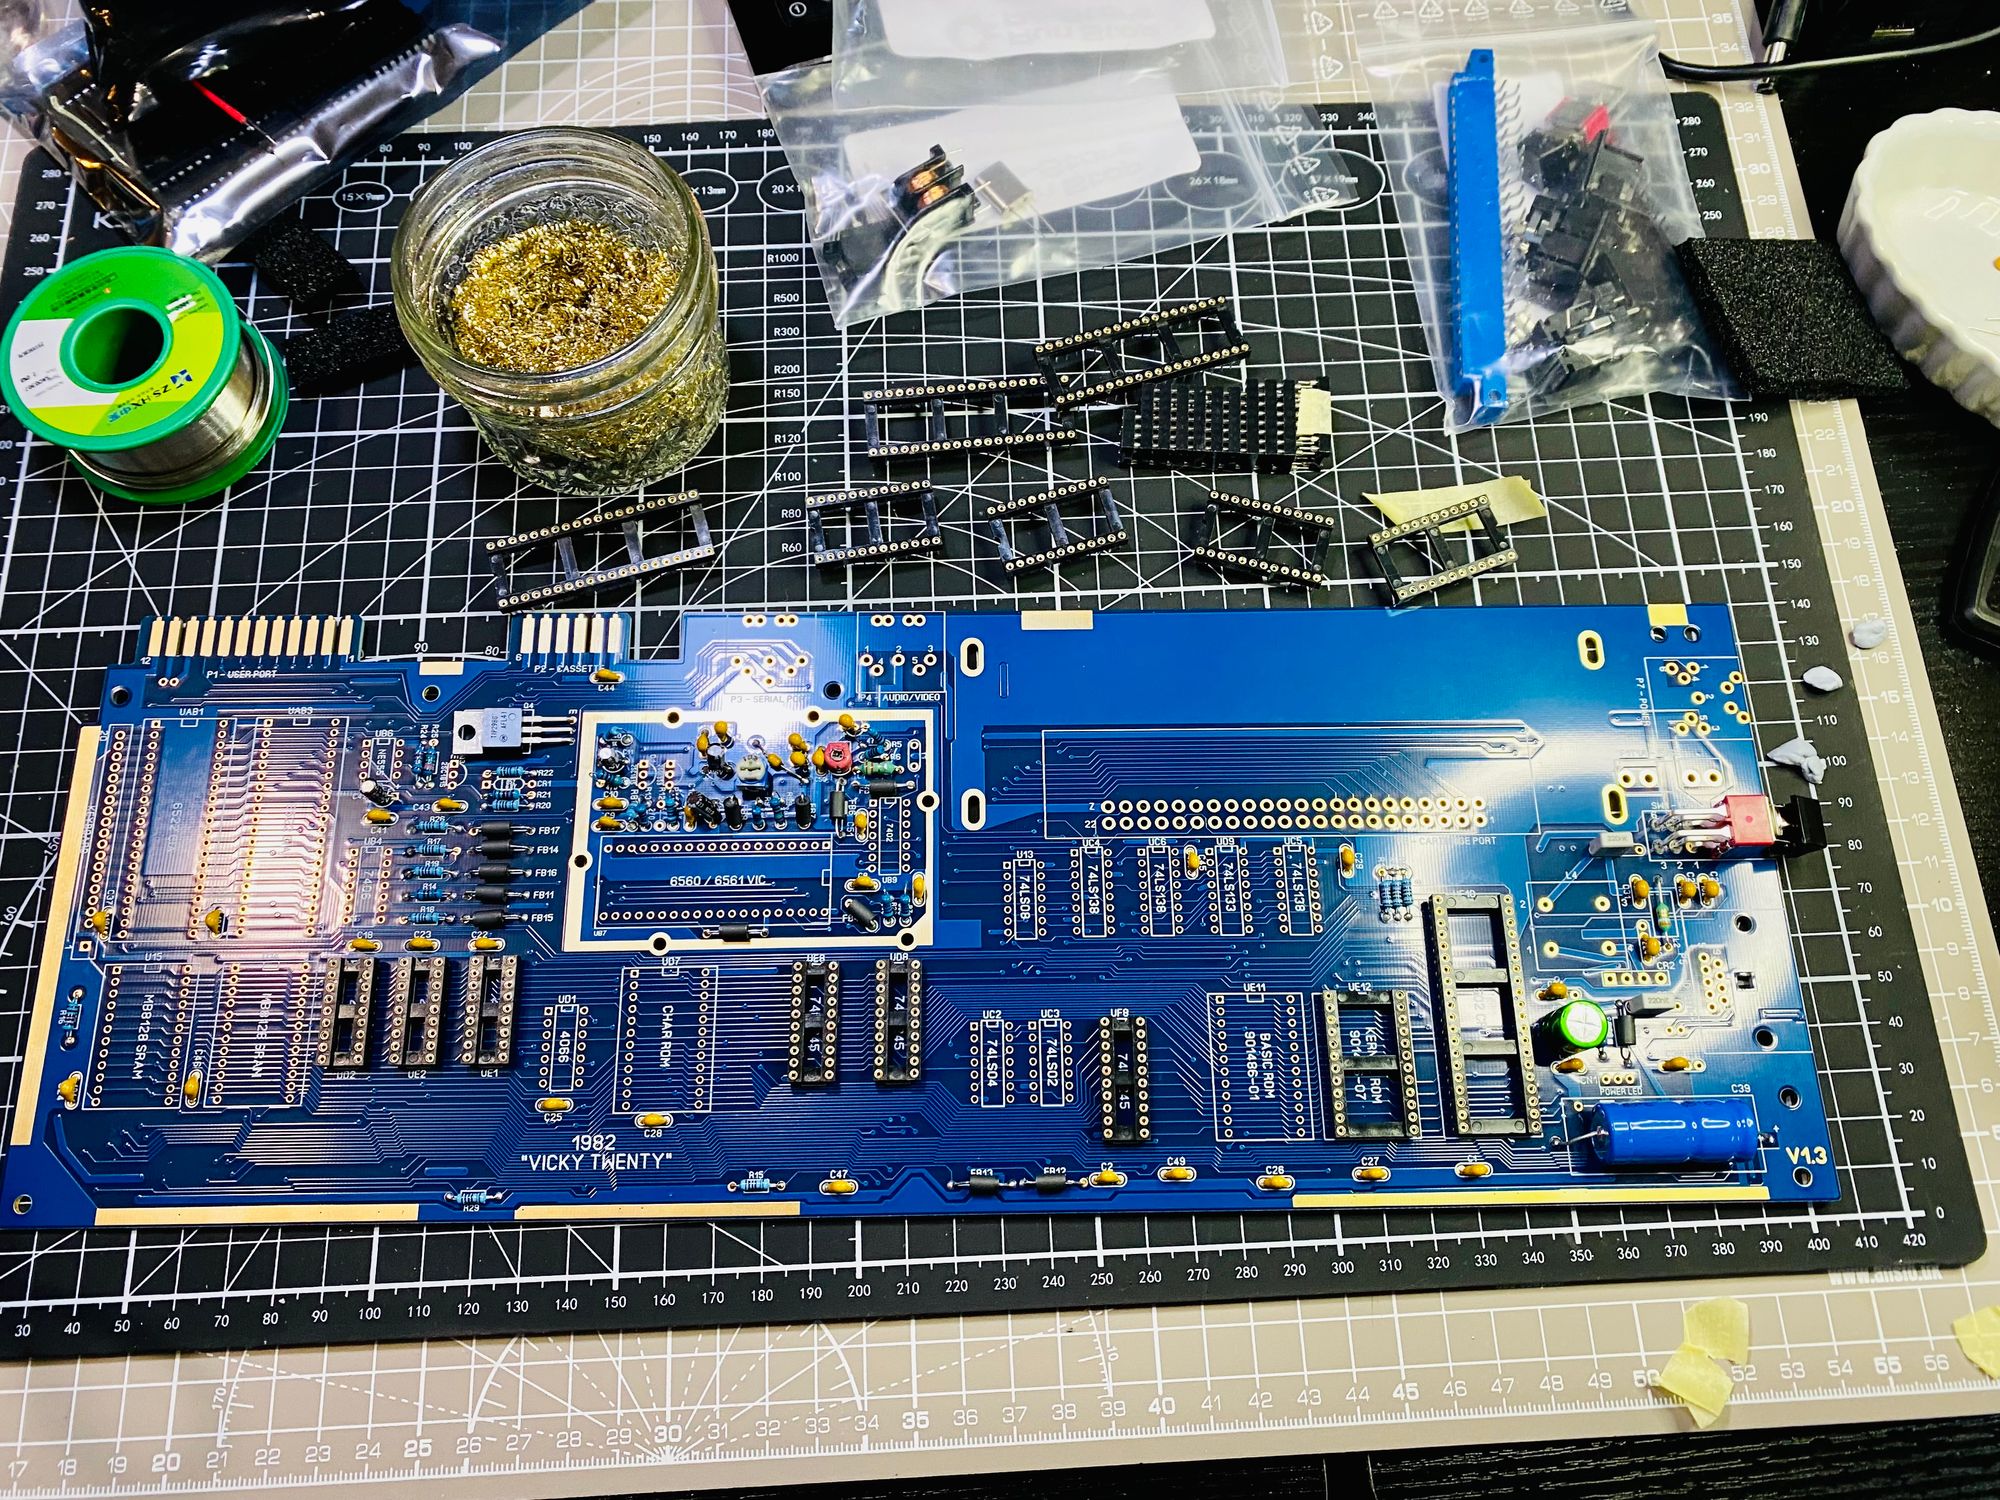
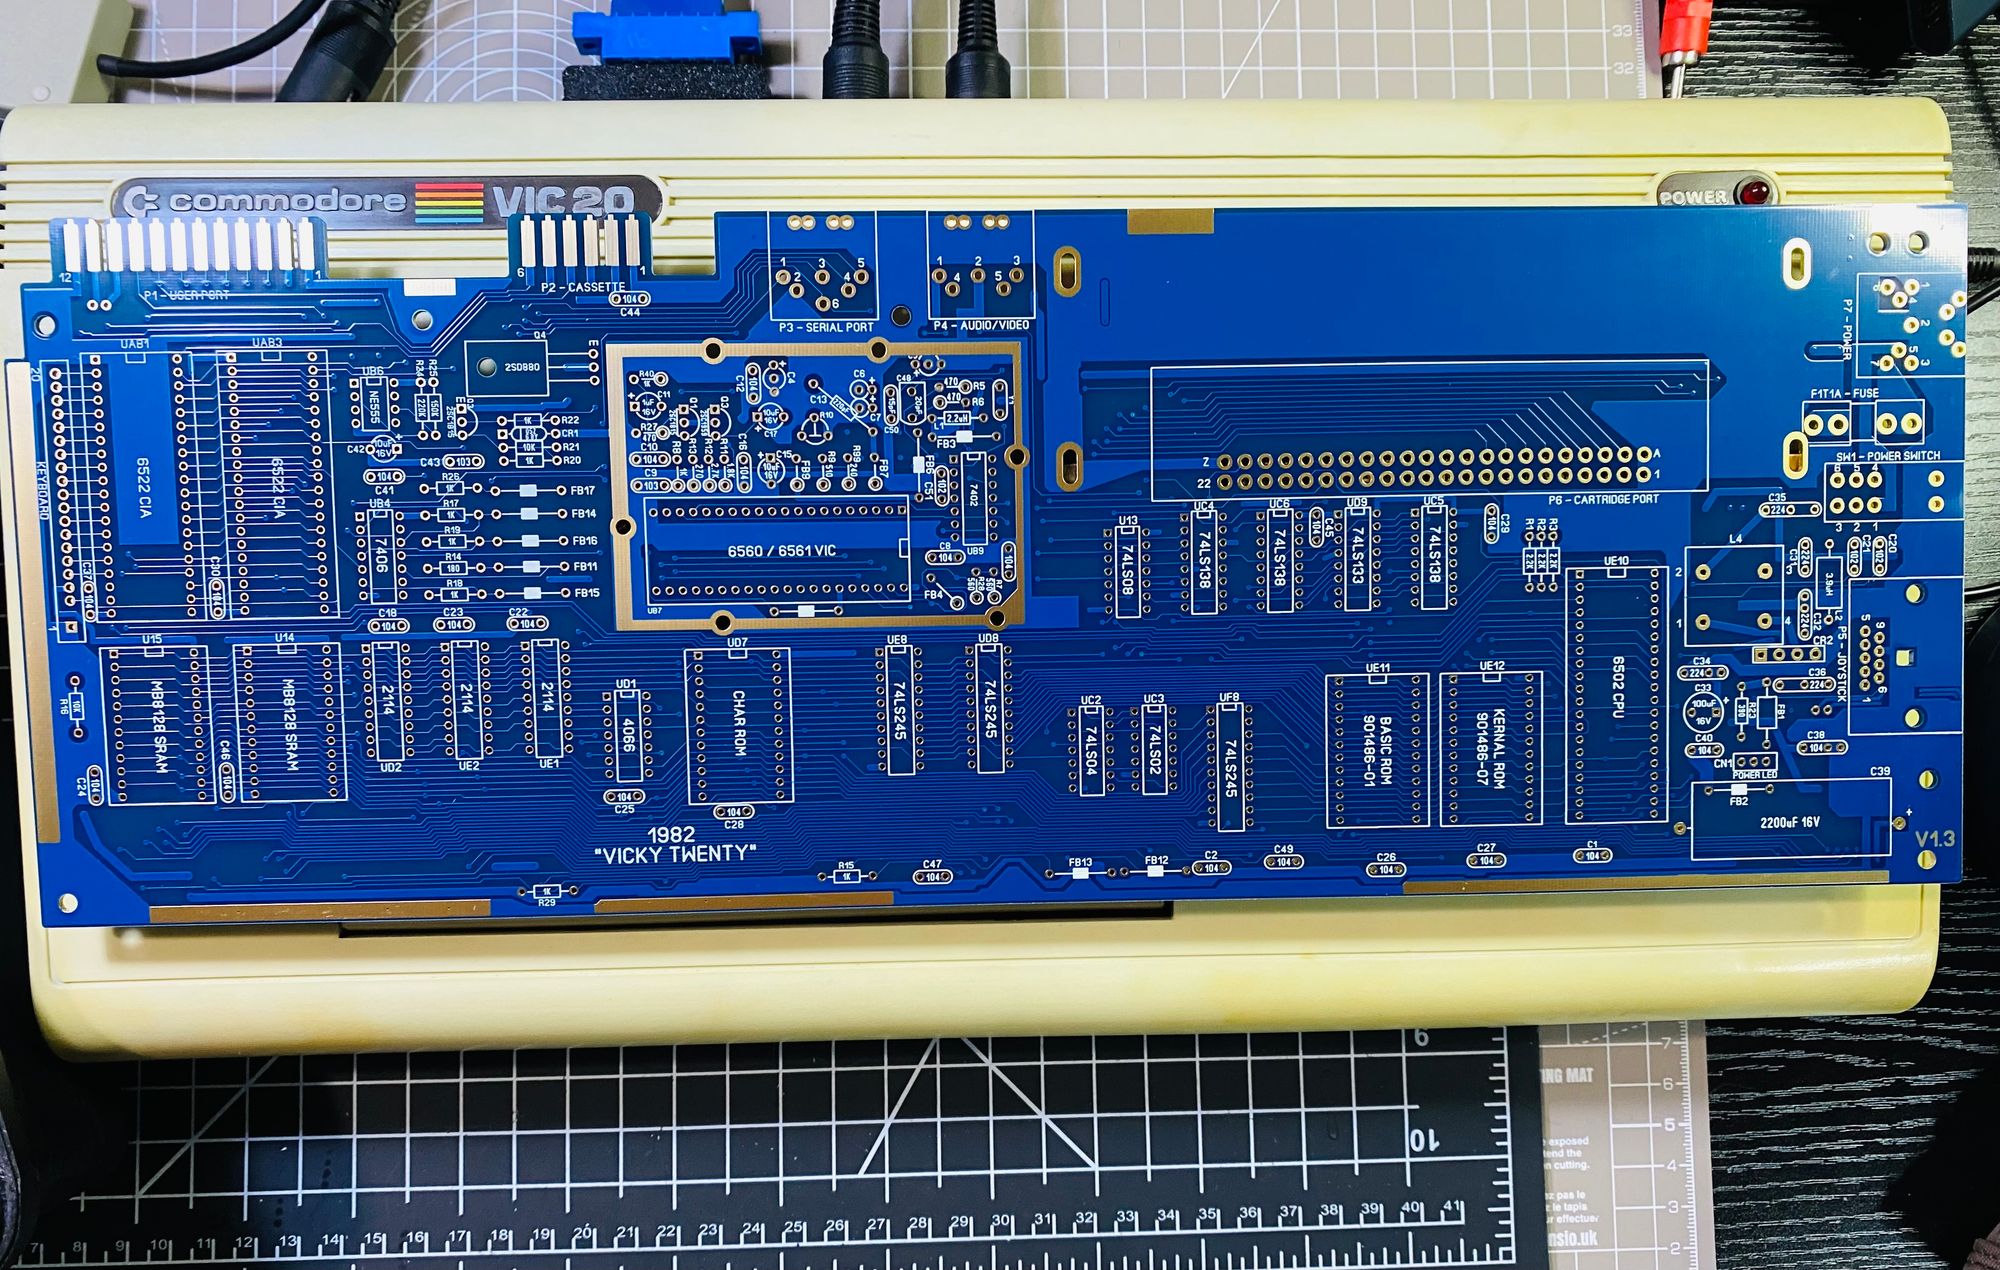
- 2 minutes read - 263 wordsI’m very pleased with my PAL VIC-20 replica, the Vicky-20. It’s almost a year old and the VIC-20 that sits on my desk all the time.
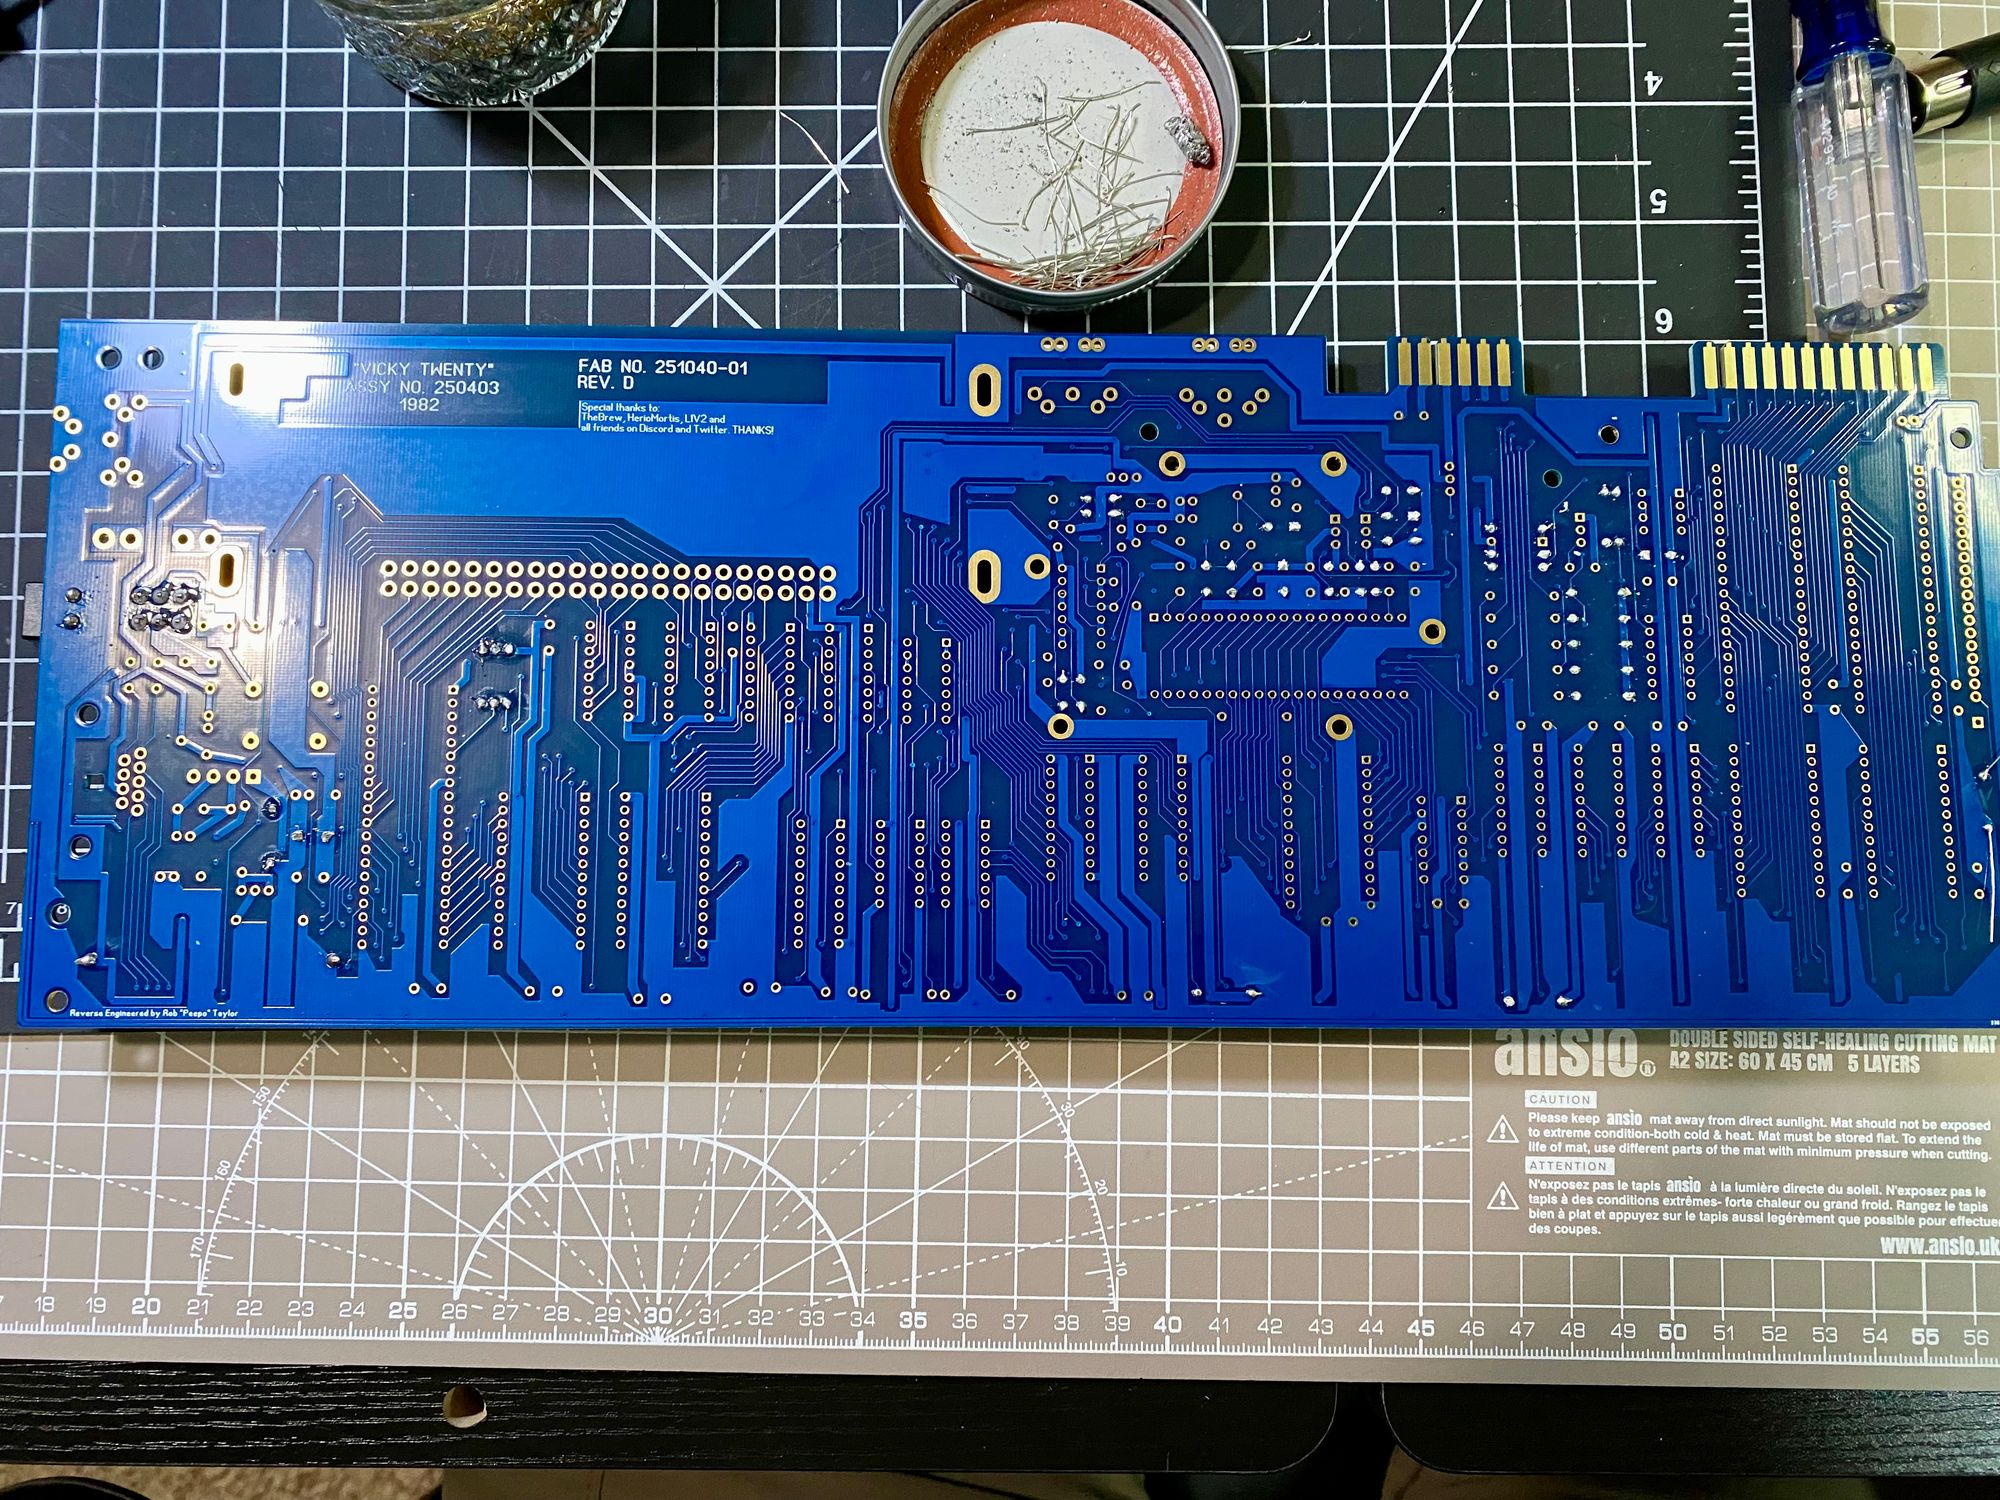
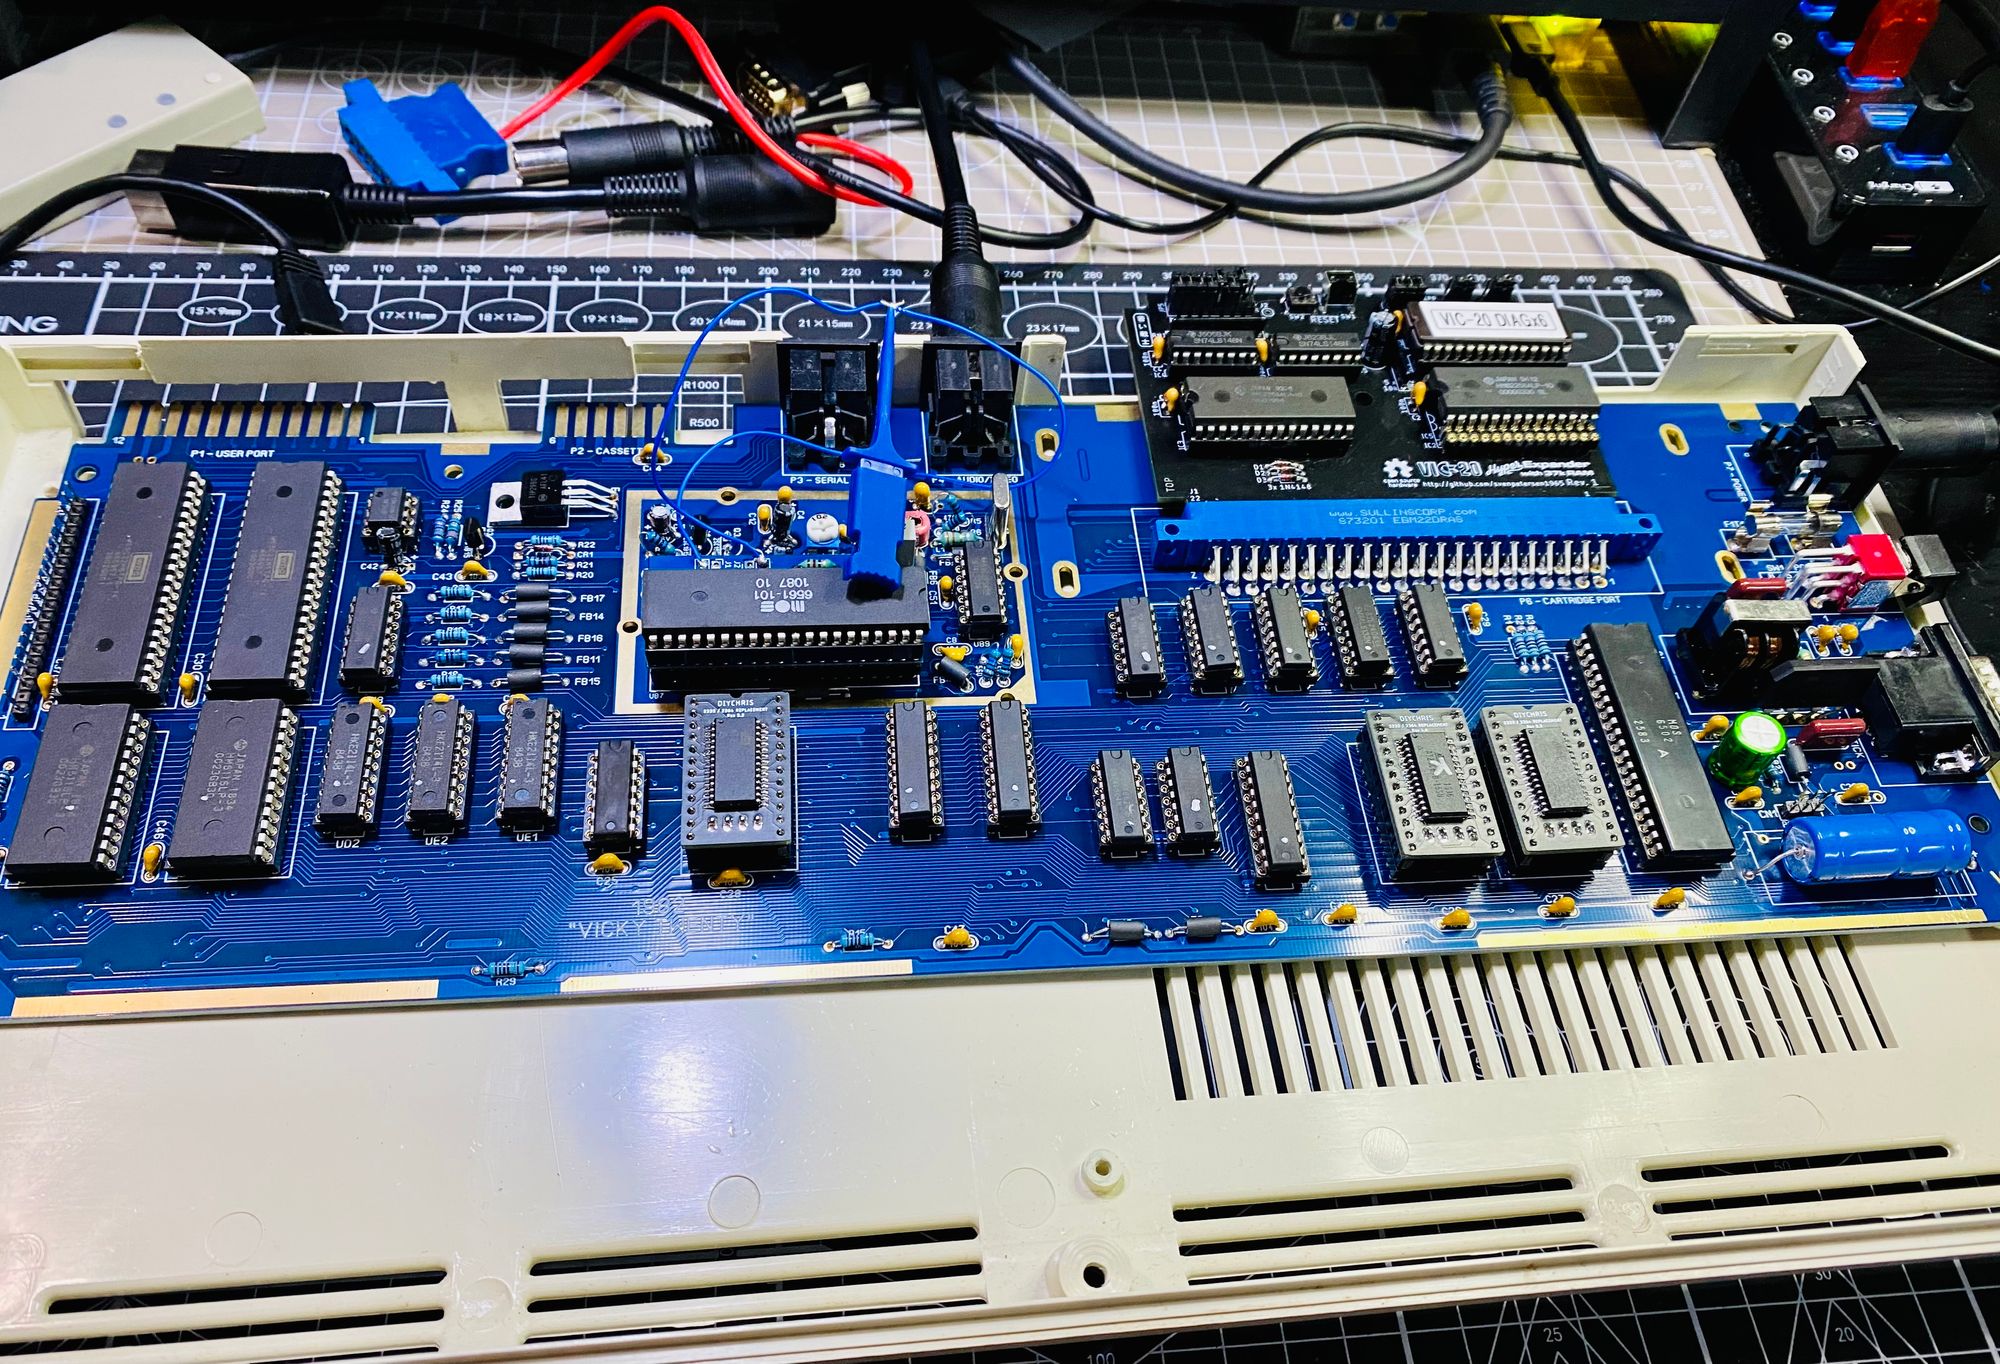
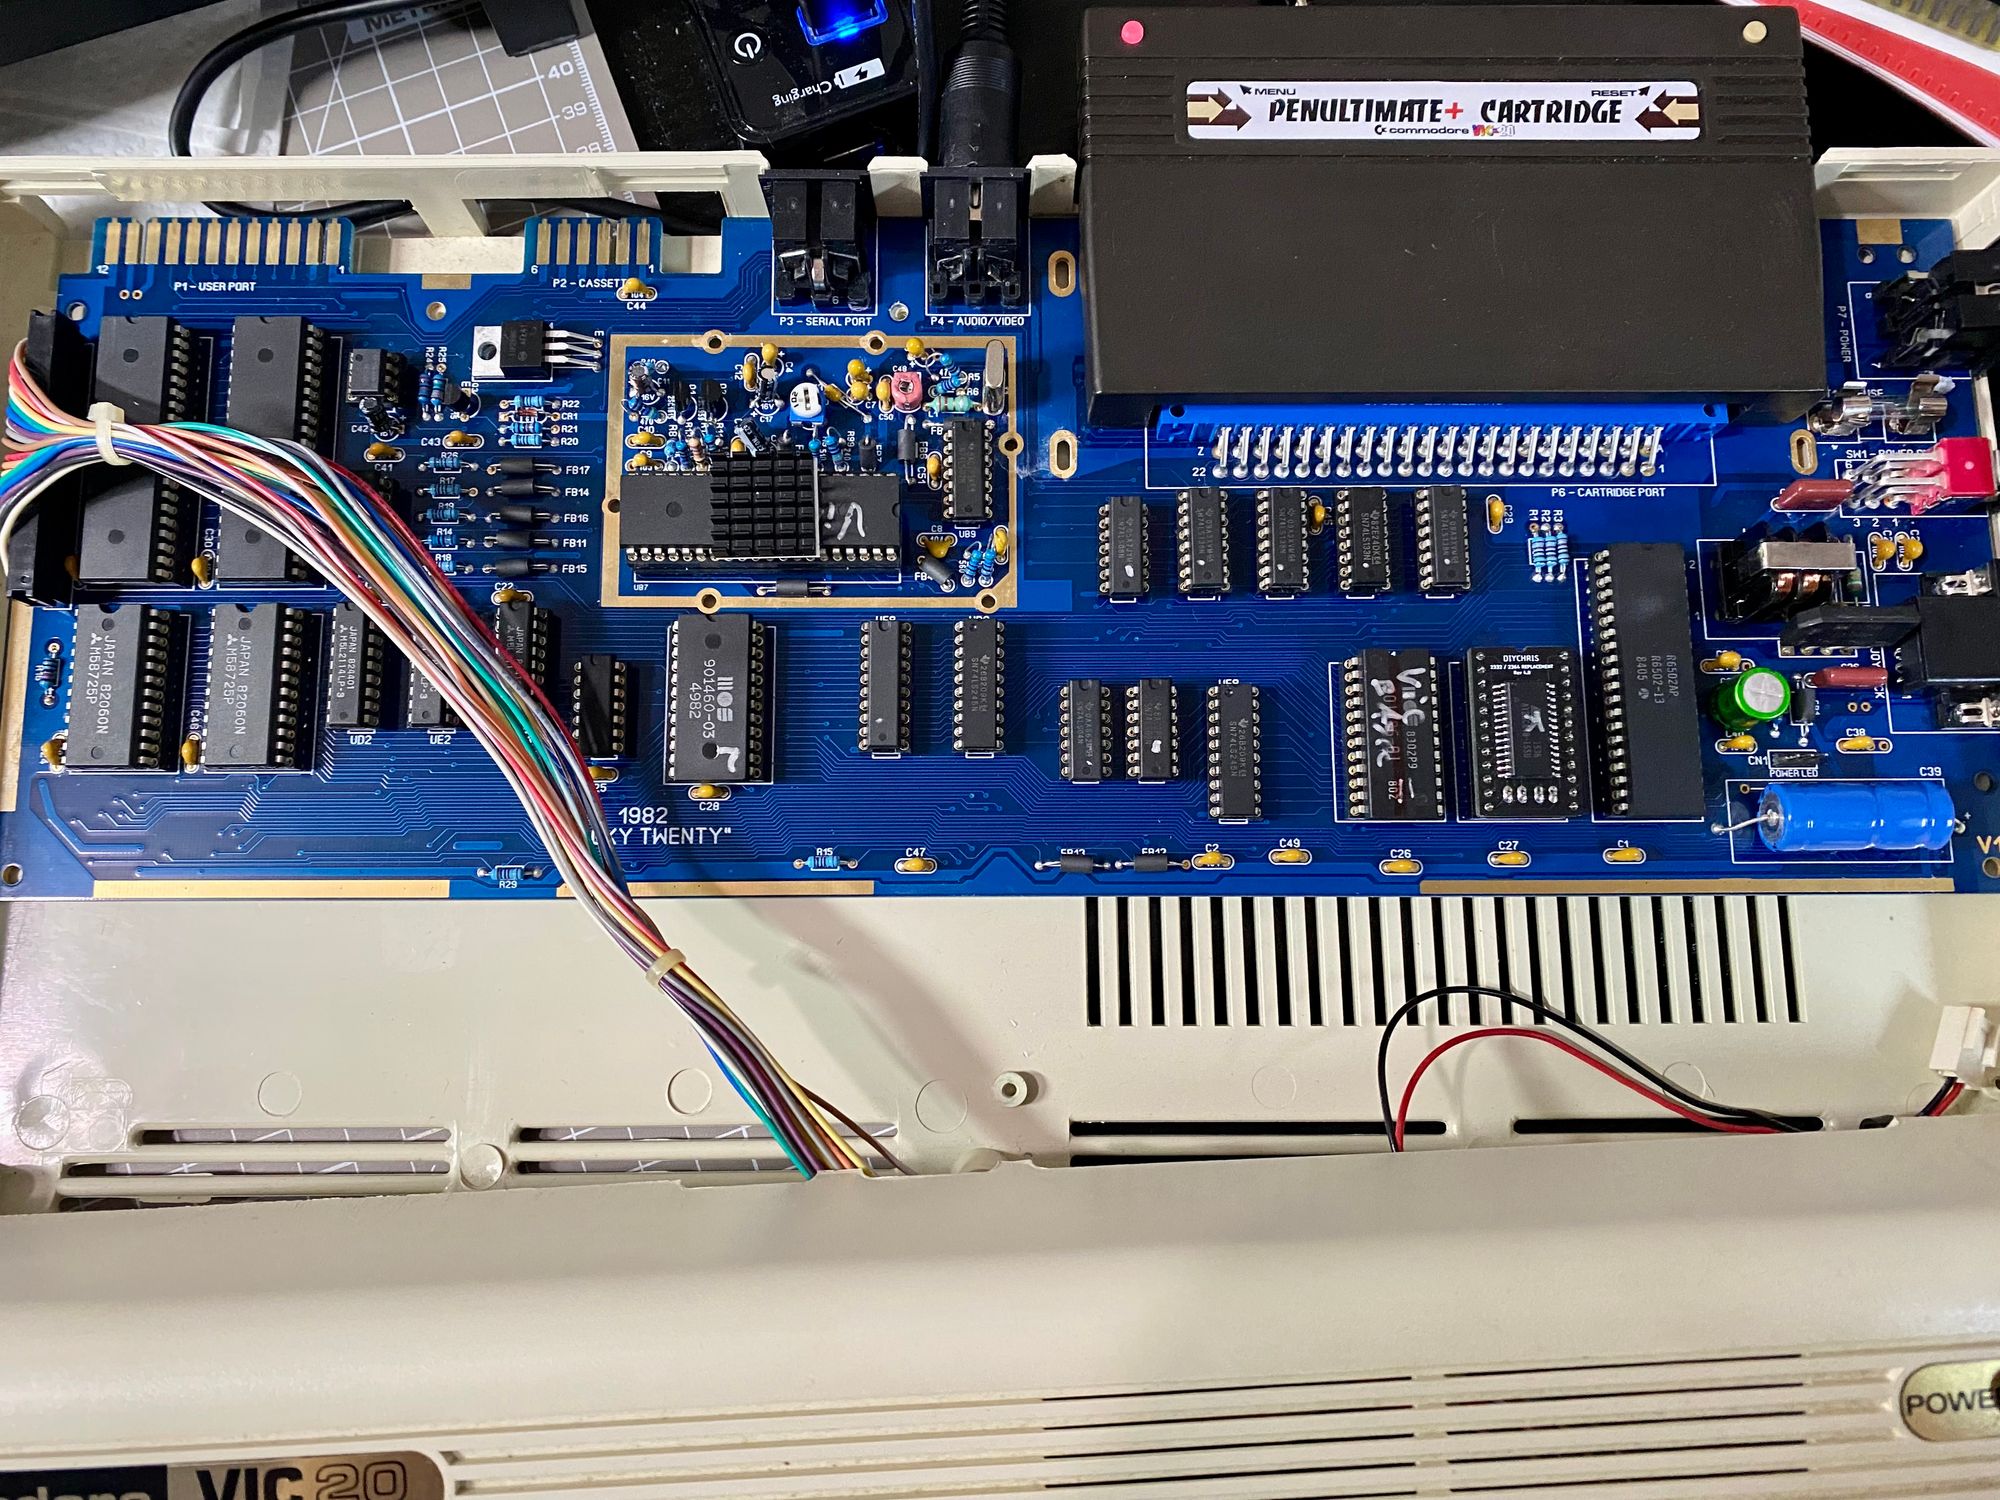
I’ve wanted the absolute best video out of this thing I could muster. This board is fortunately VERY easy to modify.
Connections
Sure, you need an S-Video Cable for this. You can use a 5 Pin DIN to RCA jack from the Amazonies for a few bucks. This works without modification with my RetroTink 2X Pro
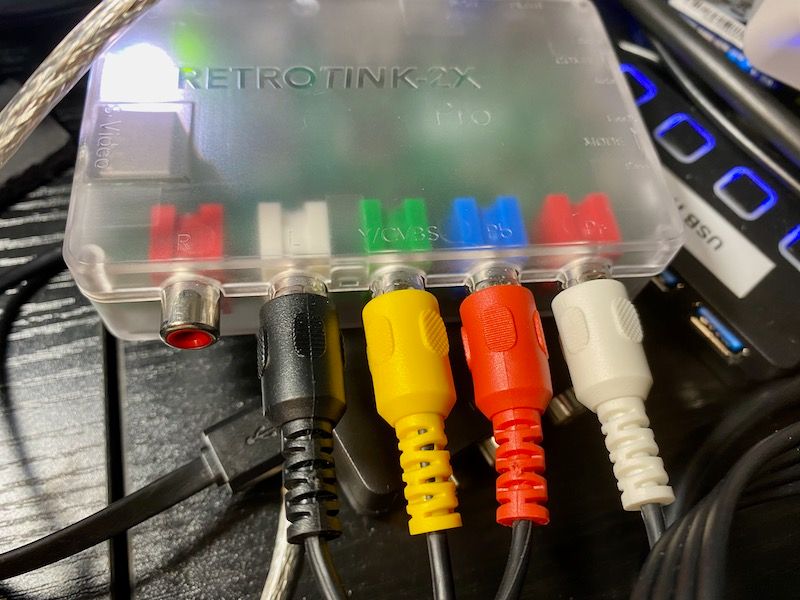
This is the cable order from a standard 4 wire RCA-5 Pin DIN connector. The white light on the Retrotink2 shows it’s in S-Video Mode
You can also very easily make a standard cable with some wire cutters and cannibalize an S-Video cable with the 4-pin connector. It is only 4 wires so give it a go.
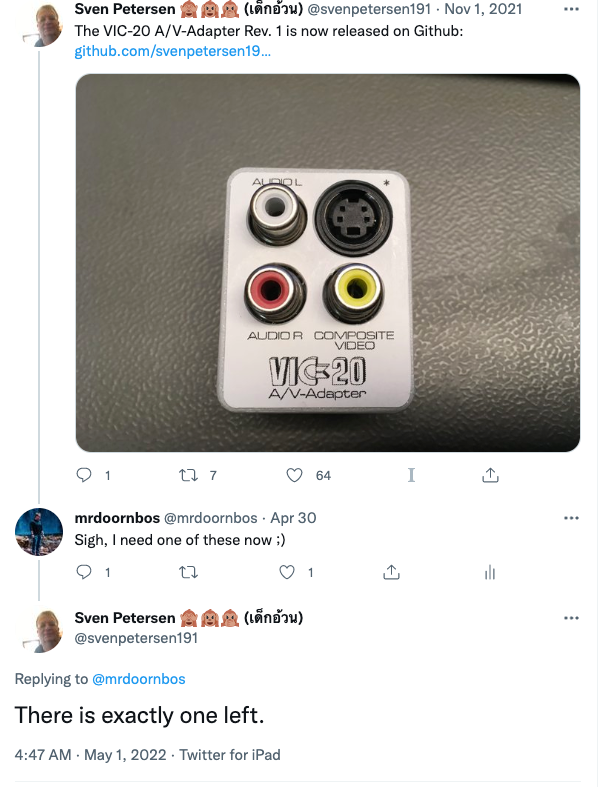
I was fortunate to snag the very last VIC-20 A/V Adapter so this makes the connection super easy and clean. Sorry, they are sold out though.
Performance
So you’re probably here for results. Here are some of my favorite screens on a VIC-20 before and after.
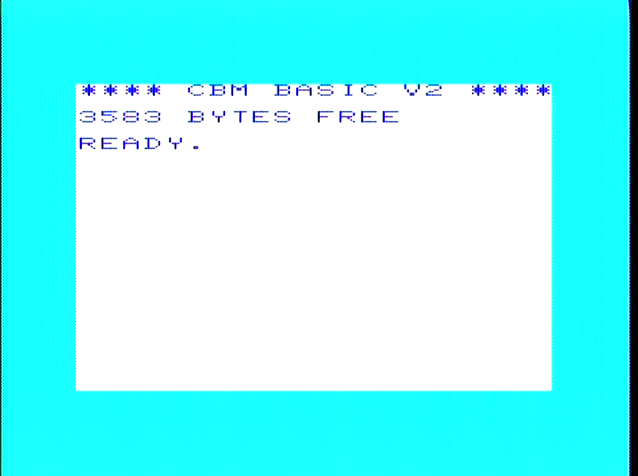
Composite
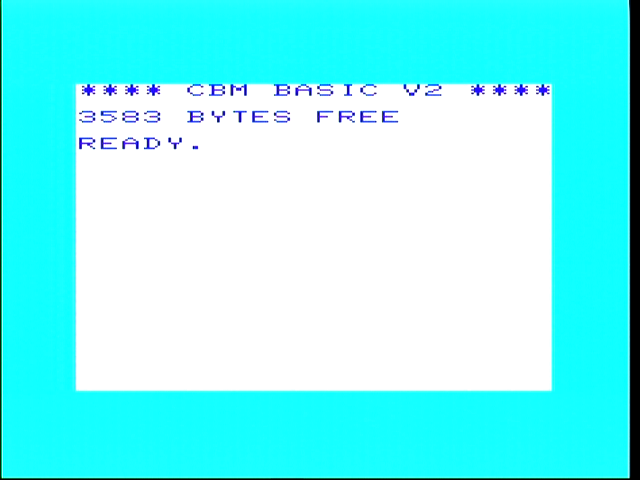
S-Video

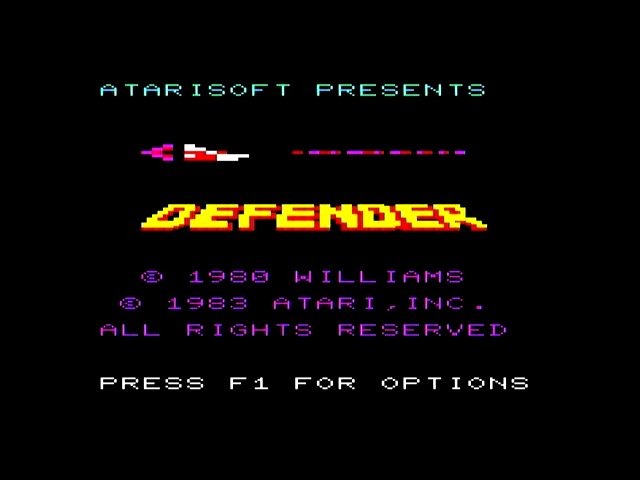
Composite

S-Video

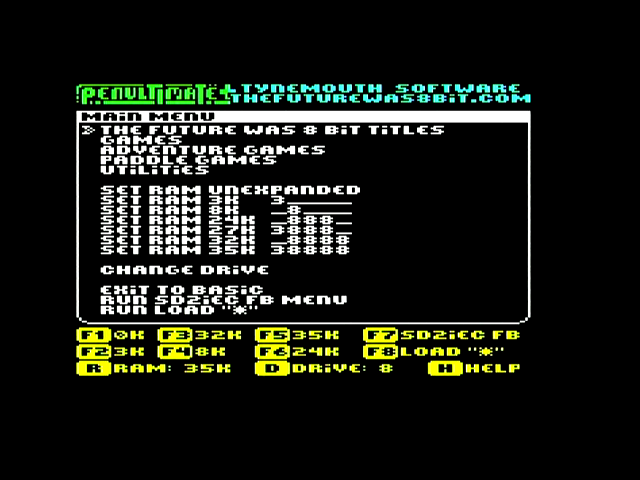
Composite
S-Video

Composite
S-Video
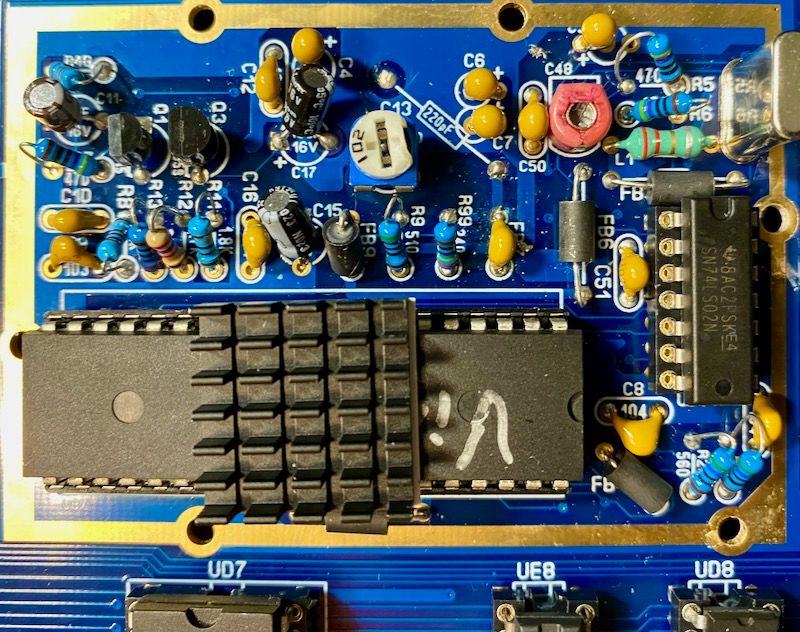
Instructions
I took a ton of pictures if you need them, but Amiga Retro did a video on this a while back and I did exactly what he did. Highly recommend you follow those instructions.
- Remove a ferrite bead,
- Remove a capacitor
- Install a capacitor
- Scratch open a trace separating Pin 4 and 5 on the DIN connector
- Install a resistor with some heat shrink on it and you’re done!